Is it March? April? Soon to be June?
The previous months probably seemed long for most folks, and looking back I guess I squandered much of that winter time. And now that those months are gone, it is still as if they have disappeared in the wink of an eye, but because of that squandered time my to-do list has been left mostly untouched even with all the "stay at home" time.
In December I promised a 'how to' post on cute little eye fooling tags that mimic an enamel look. I made them for the markers of a 25 days advent calendar.
**This post contains affiliate links to the products used.**
If you are the fancy type you can call them faux, or using the word fake is fine because that is what they are, fake enamel tags, with a porcelain look, that aren't real porcelain either!
I have used this process to give the enamel look to several little signs, but the metal tags are by far my favorite.
The process is simple, VERY simple, so don't let this detailed tutorial fool 'ya. I tend to err on the side of more info than is necessary for the folks like me that second guess themselves when trying something new.
Here is the supply list linked to the products on Amazon....
metal tags
spray paint
number/letter stamp or other graphic
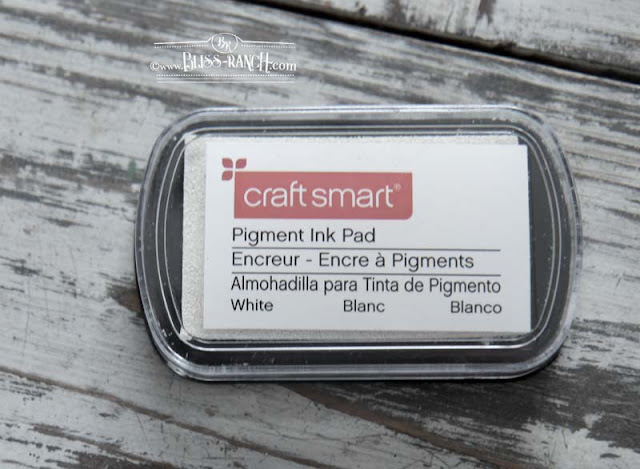
Ink stamp pad
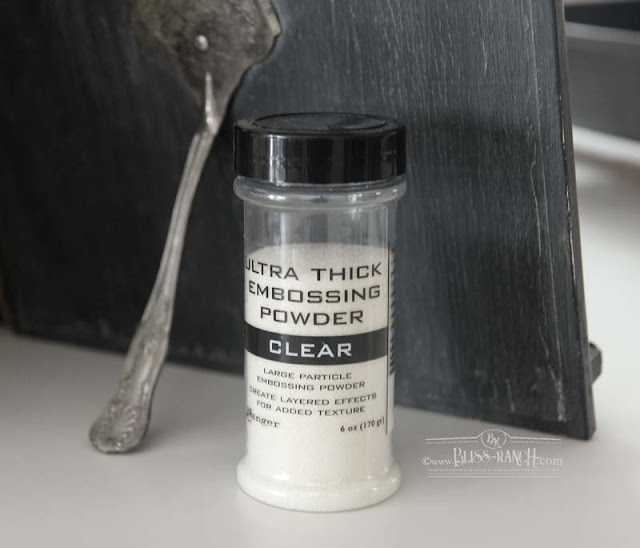
Clear Embossing Powder
some regular household aluminum foil
an electric skillet
There may be other tutorials online for this process, but the one here is what worked for me, so I can't promise you will get the same results if you deviate from these instructions.
Also, you will be working with a hot skillet, and I'm telling you now to be careful - if you burn yourself I'm not responsible for your carelessness.
First lets talk about the tags, the embossing powder, the ink pad, and the spray paint.
I ordered the stamping tags on Amazon, any size will work, mine were 1", they are metal tags not plastic. They come with a white film on each of them so they don't get all scratched up, remove that film when you are ready to start.
I did a test with using the embossing powder straight up on the metal and not spray painting the background.....they looked like shiny metal not a little porcelain sign, so I do suggest spray painting them a color other than the silver they arrive as.
Any color background would work, I made white, black and red so I can't speak to other colors. For the numbers I only used black and white, so again, I don't know how other colors would look, just make sure the colors you pick contrast so your graphic shows.
The first set of tags I made about 5 years ago were made from a very small glitter size tube of embossing powder. The tiny beads of plastic in that were a very fine grain. When that was gone I had to order more and I could not find the same kind, so I went to the next best option. The beads are larger (but still tiny) and it works just the same.
Oh; and you may as well buy the large size jar of embossing powder because once you make this craft you will want to make more, however the powder does goes a long way.
Spray paint your tags your choice of a background color and let dry.
A black background reminds me of vintage typewriter keys, and is probably my favorite. It's up to you if you want to spray paint both sides, and the color I used is a matte black, but I don't think that matters, gloss would work too. Let them dry completely.
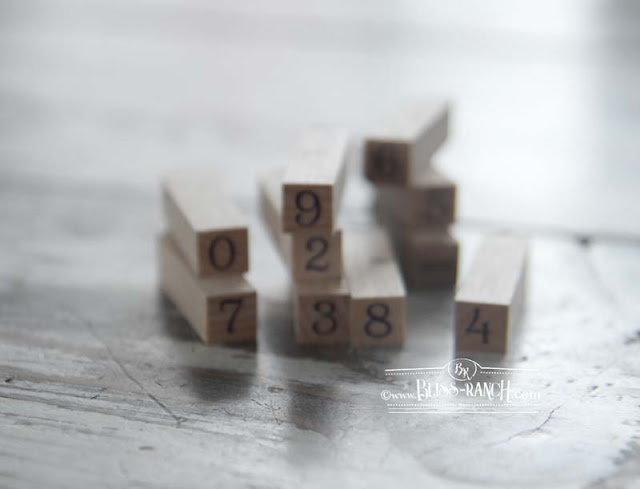
I happen to have a small set of letter and number stamps and that is what I used to number each tag, along with an ink stamp pad.
Numbers 1-9 go on easy if you don't think they have to be perfectly centered, but any two digit numbers can get a little wonky to line up. If that bothers you then be more careful than me. I like the homemade look of the graphics when they are not perfect.
Get your electric skillet/fry pan ready. That amounts to taking it out and setting it up where you plan to turn it on, you don't want to move it once all your little tags are ready for heating. I did use the lid to hold heat in thinking it would melt faster and more evenly. I'm no scientist so have no idea if that is necessary.
Can you use the oven or a pan on top of the stove? I don't know because that's not the way I did it!
Transfer all your metal tags onto a piece of aluminum foil that fits in the electric fry pan. You do not want the tags to touch, and also roll the edges of the foil up so melting embossing powder can't get on the inside of your skillet.
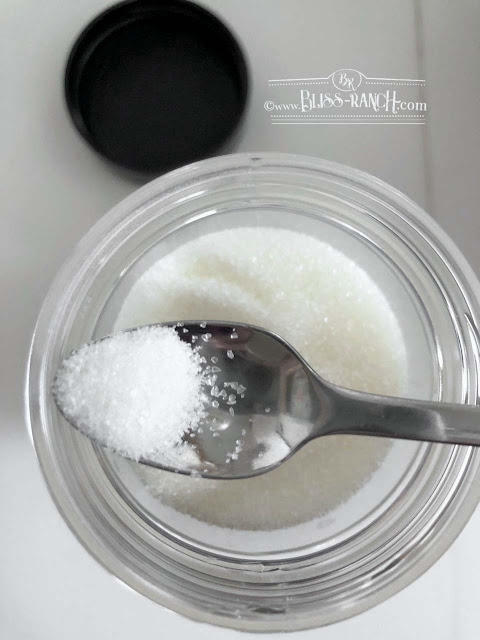
While the skillet is OFF, and this is the soooo technical part (kidding!!) take a small spoon, I used a baby feeding size, and carefully sprinkle the embossing powder onto the metal tag, using care not to put too much or to have it go past the edges.
If you are not lucky enough to have a Care Bear baby spoon, any spoon will work.
If you use too much, or it goes off the top onto the base of the tags it's not the end of the world, you will just have to crack off the extra after they cool and sand any rough edges. Easy to do, but yeah it's an extra step that isn't necessary if you find the sweet spot on how much to add to the center of the tag. Also, way too much melty stuff off the tag and you run the risk of cracking the design off the tag when you remove the edge part.
I did a test tag the first time, I didn't want to start completely over if I wasn't doing it right, so I suggest that.
Before you start the melting process, take a tooth pick and move it around the inside of the little hole and get out the embossing powder. Otherwise it melts the hole shut. I had a few that did that and if you are careful you can still open it up after it hardens, but if not it will crack off some of the top layer of your tag.
Turn on your electric skillet. Play soft music, pour some wine, or whatever it takes. I turned mine on by setting it's temperature all the way up to 400.
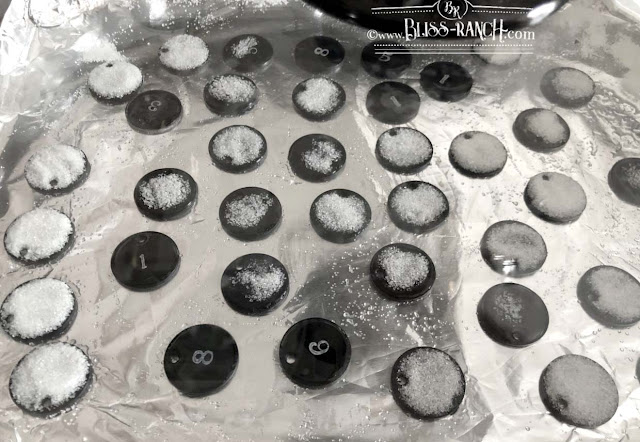
It seems like it takes a long time for anything to happen while the skillet is heating, but once they start to melt it goes fast. You can't see through the embossing powder at first, but as it melts it turns clear, and that is fun to watch.
I took these next two photos with the glass lid on, so you'll see the glare - the milky white ghost is not on the tags.
The photo below is at 3 minutes.
And the next one is complete at 5 minutes, turn off the skillet. They can cool in the pan or the foil can be lifted out.
The won't all melt at the same rate, so if you are like me and really only use your electric skillet once in a while to fry chicken, enjoy the smell because your nose will tell you the chicken is almost done.
Below is a before and after of the embossing powder container, the first one is before, so you can see how much I used from the jar for 40 tags. Note it is not filled all the way to the top to begin with.
That's it.
Cute little not-really-enamel-not-really-porcelain tags. But they'll fool your eye into believing they are much more complicated than they are.
With attached rings they are ready to go on any crafting project.
Quick Links:











Oh my gosh those are just the cutest! Now I need to make these too... I've got my work cut out for me! Thanks for the great suggestion! :)
ReplyDeleteThank you, Bliss, I've always adored these!
ReplyDeletep.s. Besides fried chicken, electric frying pans make fabulous grilled cheese sandwiches.
oh man! just when i've been thinking of ditching my 1973 harvest gold electric skillet that i haven't used in 40-some odd years, you give me a reason to keep it! these are fabulous! i can see all kinds of uses for numbers and letters! thanks so much!
ReplyDeleteYou gave a great tutorial. I'm like you, at times perfection isn't key for me with DIY. I like some things to have a homemade look. Double digits not looking perfect wouldn't bother me.
ReplyDeleteTime just keeps going by.
Cindy
i agree Cindy, perfection is way overrated!
DeleteWhat a fun project! Gets my mind spinning for all sorts of projects! Great tutorial, Bliss! Thanks for sharing!
ReplyDeleteI’m going to try this! Thanks so much for taking the time to make such a detailed tutorial!
ReplyDeleteSo cool! This is a really awesome tutorial! I'm putting that powder on my list!
ReplyDelete