Or if you want to call it a fancy coffee shop name go ahead.
I just call it another excuse to drink coffee all day long.
From time to time I've tried a few other recipes and never found one I'd make over and over again.
So I perfected my own.
Apparently I did good, because every few days lately I need to start another batch before the other runs out.
Two jars must be going - one brewing, one ready to serve, to satisfy the coffee appetites around here.
The first thing you need to do is to freeze some milk cubes, coffee cubes, or a mixture of both - anything other than water cubes that you want to put in your coffee.
If you don't do that first you won't have frozen cubes of deliciousness when you are ready to partake in a cool afternoon coffee treat, a step that insures it's good to the last drop.
Freeze whatever combo you like, the idea is just so you won't dilute the beverage with ordinary ice. But in an emergency situation, of course regular ice cubes will do just fine.
I know that for a fact.
Having been a coffee drinker long enough, I also know that the way the flavors meld is a very personal preference, at least it is for me.
In a cup of the hot version there are the solid-black-strong coffee types, the little bit of cream types, or the dump in the kitchen sink types.
I'm sort of a dump in the kitchen sink type in reference to cream and sugar, I want it all in, and the proportions must be exact so as to give me the taste I want and have grown to enjoy, as well as the temperature most pleasing to my tongue.
But that's HOT coffee, and we're talking the COLD stuff.
In this recipe you can alter, or leave off what your tongue tells you too, that's why it's called "iced" coffee instead of a name that implies you must have a certain amount of this or that in your glass for it to be labeled the trendy popular kind with the fancy names you read on the menu boards at all the coffee shops.
Because I hate to break it to 'ya...... iced coffee was around long before coffee shops on every corner was the norm.
Coffee was just re-branded all fancy like and given names for every freaking way you might want to drink it. The menu board wouldn't have enough room for how I like my coffee, so we will just call it Coffee Bliss, hot or cold.
In other words, if you like your coffee black, you can leave out everything in the finished product and just pour your java gold over ice.
Which of course makes me shudder, because I've gotta have it all added in my glass.
Bliss Ranch Iced Coffee
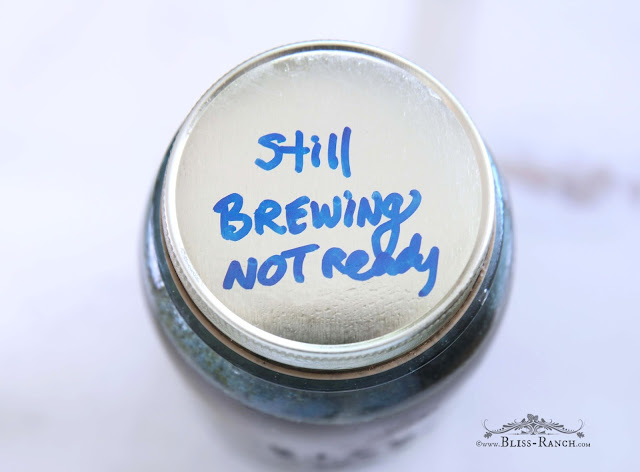
1. Make your cubes a day in advance. I suggest a slightly sweet coffee/cream version.2. Cold brew some coffee and let it sit in the fridge for 10-12 hours. I most often use San Francisco Bay coffee, it is our coffee of choice and always on hand. The proportions are 3 to 1, so for every 3 cups of water you use, you will need a cup of coffee grounds. I use a rounded cup not level, so yes it is slightly more than a cup of grounds. Put the grounds in a quart size jar, fill with cold water and stir rapidly and thoroughly with a butter knife. Put a lid on it and stick it in the fridge overnight or 10-12 hours, whichever happens first.
3. Make some simple syrup, recipe below.
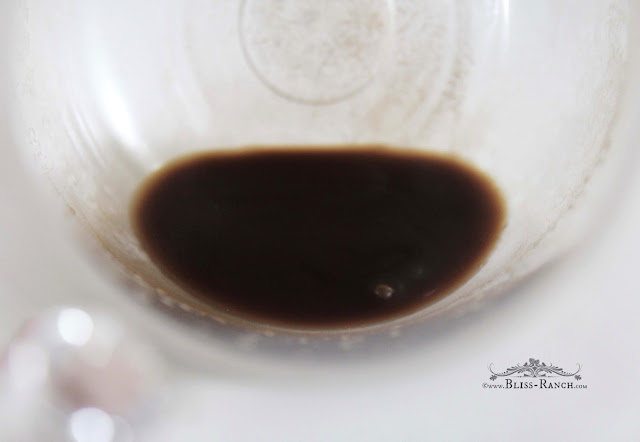
4. After 10 hours strain out the grounds.
5. Mix as per my preference, or develop your own proportions to please your own taste-buds. Tall glass, a handful of frozen non-water cubes, two inches of simple syrup, add to fill to 2/3 full with the strained cold coffee, add a splash of real cream, fill rest of the way with milk, stir. You can add whipped cream and coffee syrups or chocolate syrup on top if you're in the mood for the full coffee shop experience.
Cold brewing coffee has been around forever.
Google it if you need to know more, think you require lessons, want to buy fancy equipment or must have cute photos of the process to be able to complete this task.
Seriously, I read one tutorial where you had to stir a certain way and needed a friend to help.
Holy Hannah, don't over complicate this just because this is the longest tutorial in Bliss Ranch history.
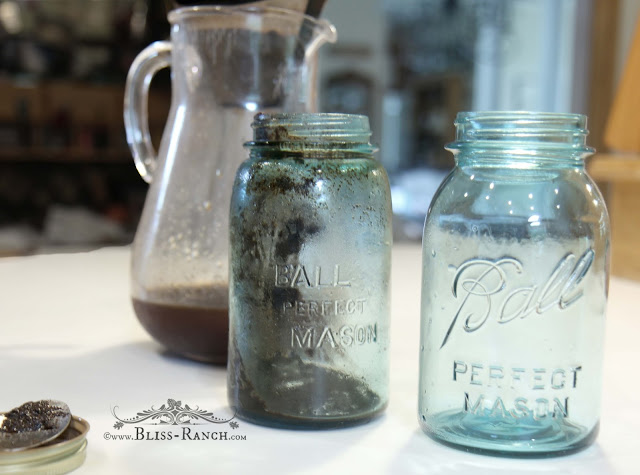
Strain out the grounds. I DO NOT use a paper coffee filter like the photo above. I was lazy and tried to make less dirty jars so did it that way for the photos, made a mess, extra dishes, and didn't like it so did the second batch my usual way.
Being the super taster I am, I can taste paper filters - brown ones, white ones, it doesn't matter I can taste paper coffee filters, so if that doesn't bother you, or making a mess strain it that way, otherwise use a different method, like my usual method below.
I use the gold lined filter from my coffee maker. It sounds more fancy than it is, but for a super taster like myself it's necessary so as not to taste anything other than my coffee. It also works better than paper liners for my version, which gunk up and stop dripping.
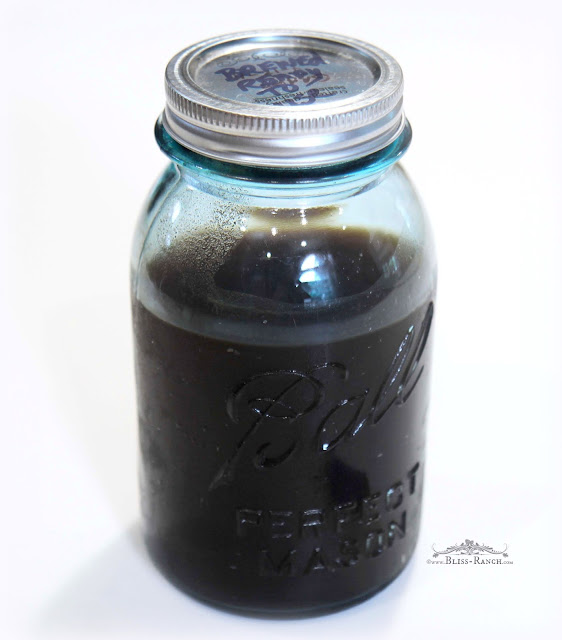
You will get a little over 3/4 jar of finished coffee unless you adjust your proportions to make more.
 |
| Simple Syrup |
Equal parts of sugar and water, bring to a boil on the stove till the sugar is all dissolved, cool, and store in the fridge.
Sometimes I also make it with only the mix and store, and cut out the cooking it part.
It is very possible to make a skinny version of this recipe if you are so inclined. I've used Almond Milk as well, which is good too, but I like the original recipe the best, apparently I want all the fat and carbs in my coffee that I can possible get.
Often my coffee comes straight from Guatemala brought back by my son. This package is from the coffee shop of his friend and I really liked how it tasted in the cold brew. Very smooth, but when I use the San Francisco Bay brand we keep in the cabinet there is no complaints, it's just as good and we always have it.
Have a seat and enjoy.
Because that Bliss coffee is good to the last drop.


Yum! This sounds like such a treat!!
ReplyDeleteWow, you are making me want some. And a tutorial on top of it all. Thanks, I just make a strong version of coffee and cool it in the fridge and usually use ice cubes but now I will freeze some coffee cubes....sounds much better. I don't do sugar or cream, I guess I am a 'straight' man. ha!
ReplyDeleteI hate doing tutorials and very impressed you made your way through a long one! I've never made iced coffee and it's time to give this a try. Thanks.
ReplyDeleteYour tutorial is so spot-on, even I want to try this, and I don't even like cold coffee!! (And I'm with you on the filters.)
ReplyDeleteI am inspired to try this out! Sounds easy enough. Though I may need to seek out a skinny version. Perhaps my simple syrup can be made with Truvia. And I'll use unsweetened almond milk. I may even go crazy and use the Vanilla flavored almond milk! Ha!
ReplyDelete:) Linda
Holy Moley Mavis! I don't think I can manage all that . . . but it's a great tutorial though. Mix yourself up a giant batch and have a great 4th!
ReplyDeleteThis is a very involved process. I'm impressed that you went into detail. My mom made iced coffee when we were kids and we loved it. I'm going to try this for sure. Don't confuse me doing tutorials too
ReplyDeleteoften. I may think someone hijacked your blog. Have a super 4th
Cindy
Can't wait to try this!
ReplyDeleteThanks for all of the details.
Deb
Iced coffee for me means you let your coffee get cold, add some cream and sugar, stir it up and add ice. Kind of on a whim if I don't feel like warming it up again. My mom used to drink it in the summer and I would sneak sips. Your recipe is probably more palatable!
ReplyDeleteI've tried without success to make my own iced coffee but it's always come out too weak. I think the coffee cubes may be one of the keys to keeping that from happening. Iced coffee with cream and stevia, for me, is such a treat in the warmer months, but it's had to be bought from the coffee shop up until now. Thanks for this tut, I never knew about cold brew either, but I will be trying this for sure!!
ReplyDelete